
Stape Alternative with Unlimited Events: Self-Host Your GTM Tagging Server
This tutorial walks through a real deployment, screenshot by screenshot: a server-side Google Tag Manager instance running on your own Dublyo server atgtm.yourdomain.com, with automatic HTTPS, a dedicated preview server for debugging, and a Custom Loader path that servesgtm.js from your own domain to bypass ad blockers.
Hosted sGTM providers such as Stape meter you by monthly requests — grow your traffic and your bill grows with it. Self-hosting flips that model:unlimited events for the flat price of the server, because the tagging server runs on hardware you already pay for. No per-event pricing, no request caps, no Google Cloud bill, and your analytics data never transits a third party's infrastructure.
The whole process takes about ten minutes, and Dublyo automates the parts that make manual sGTM hosting painful — TLS certificates, the preview server, and custom-loader path rewriting.
Step 1 — Create a Server container in Google Tag Manager
Open tagmanager.google.com. You'll see your account with its existing Web container — the tagging server gets a separate container of type Server.
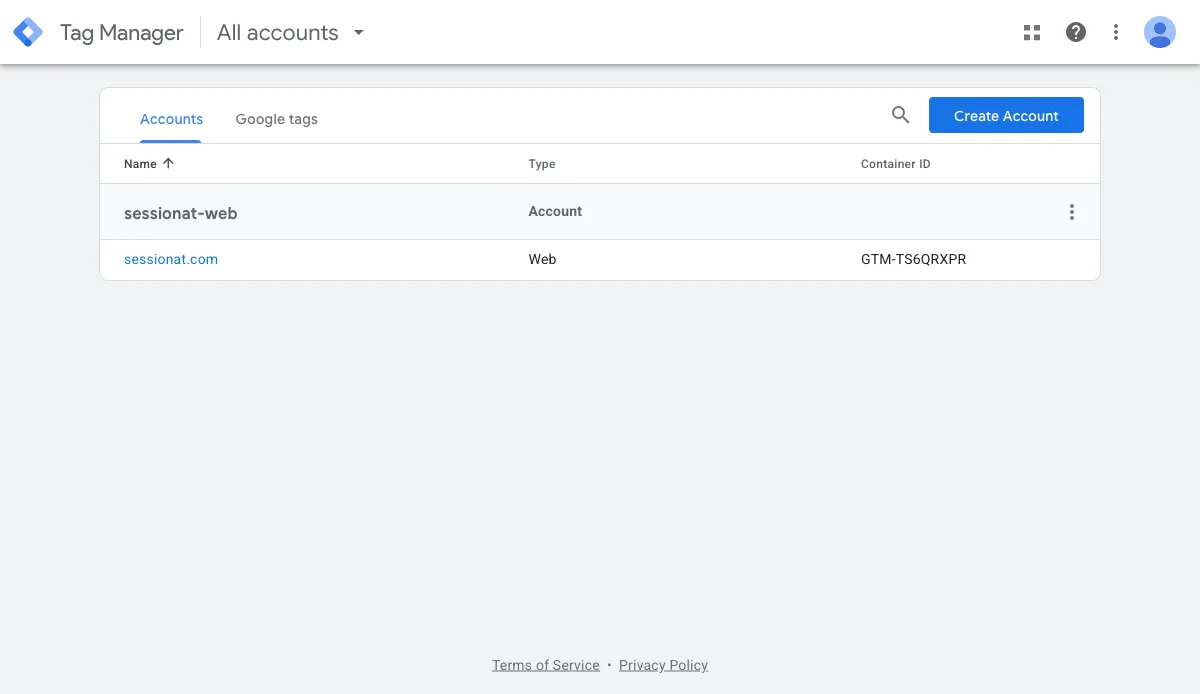
Open the account's ⋮ actions menu → Create Container. Name it after your site (for example yoursite.com - server) and pickServer as the target platform.
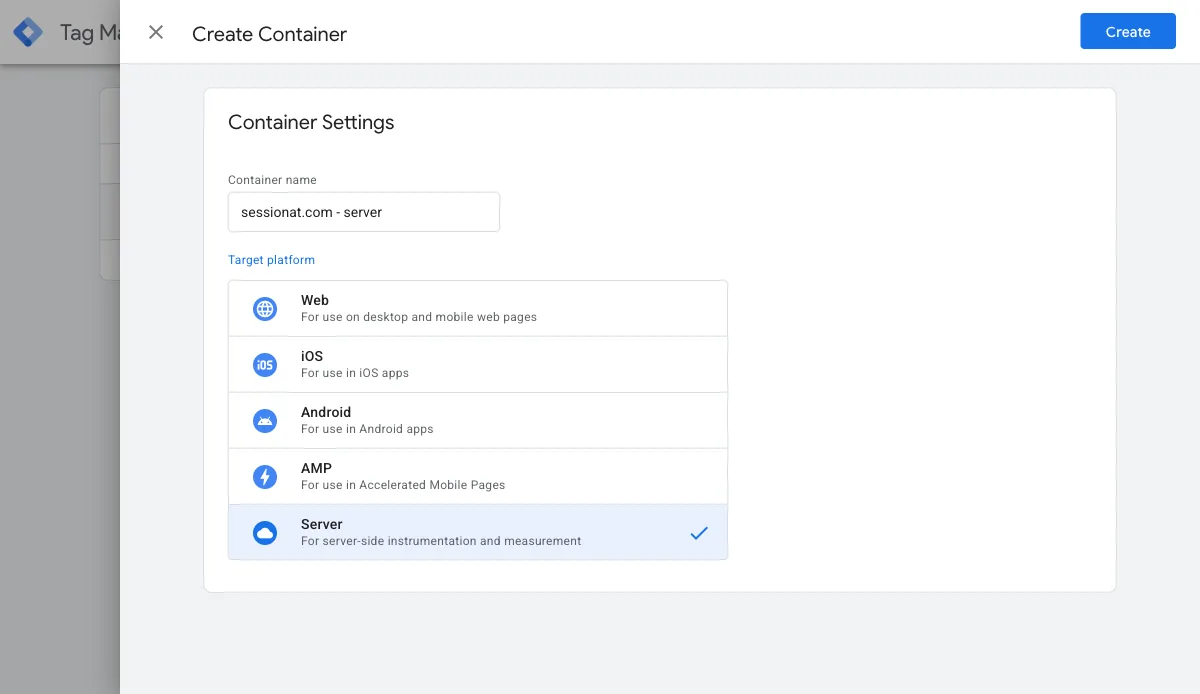
Step 2 — Choose manual provisioning and copy the Container Config
As soon as the container is created, GTM asks how you want to provision the tagging server. Choose Manually provision tagging server — Dublyo is your server. GTM reveals a long Container Configstring. Copy it; it's the one value the Dublyo form needs.
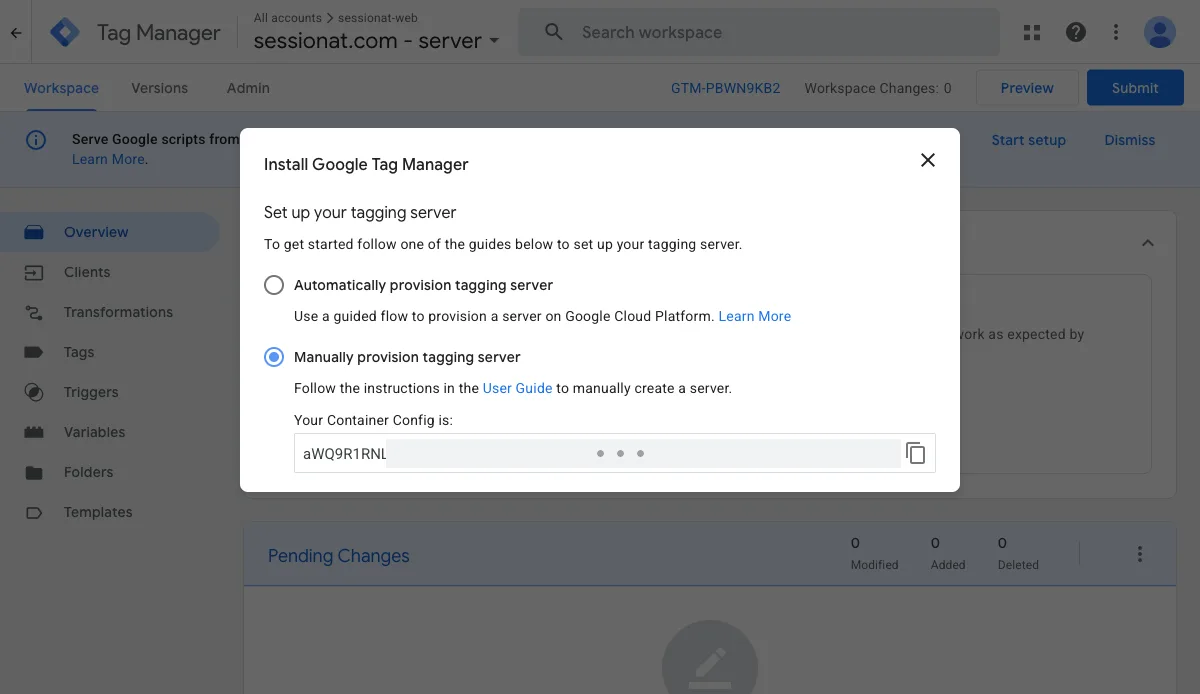
Step 3 — Fill the deployment form on Dublyo
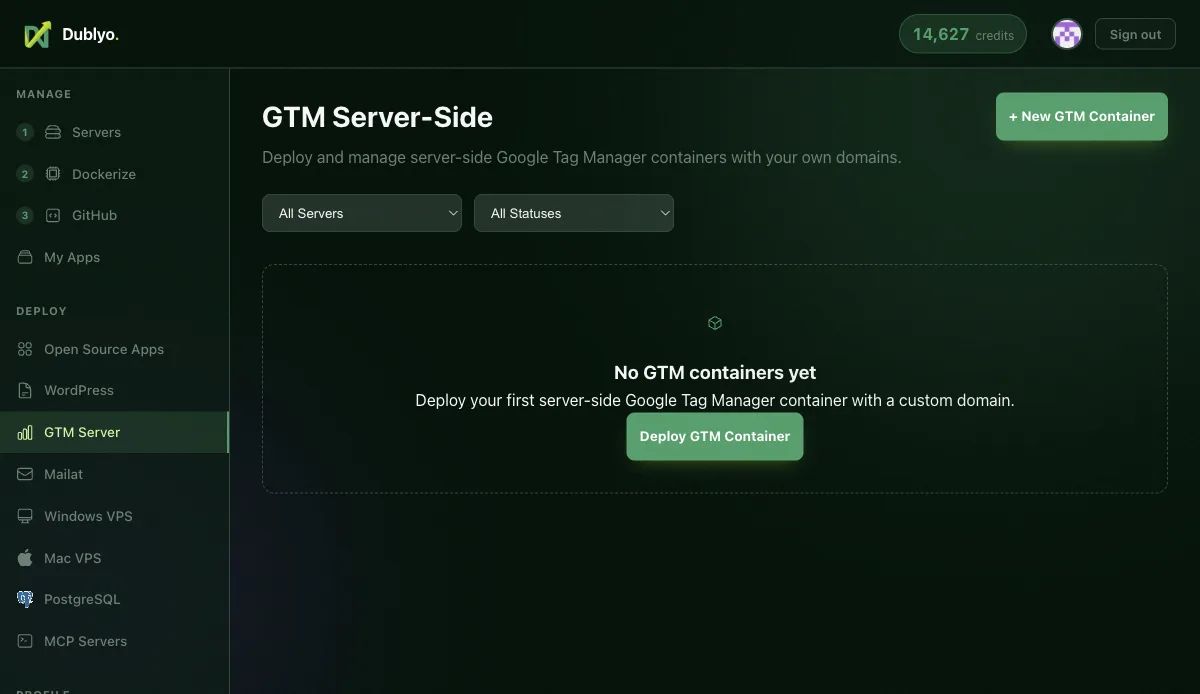
In the Dublyo dashboard, openGTM Serverin the sidebar and click + New GTM Container.
The form has four parts:
| Field | What to enter |
|---|---|
| Server | The running server that will host the container. |
| Domain | The first-party hostname your tags will load from, e.g. gtm.yourdomain.com. Subdomains of your real site domain keep cookies first-party. |
| Container Config | Paste the string you copied from GTM in step 2. |
| Custom Loader Path | The path that serves gtm.js from your domain (default loader/script.js). Ad blockers filter requests to googletagmanager.com; they don't filter your own domain. |
Power-ups are optional server-side enhancements you can toggle per container — in this walkthrough we enabled Cookie Keeper (extends cookie lifetime past Safari ITP's 7-day cap) and Bot Detection(flags crawler traffic with an X-Bot header). User ID andIP Blocklist can be switched on later from the container page.
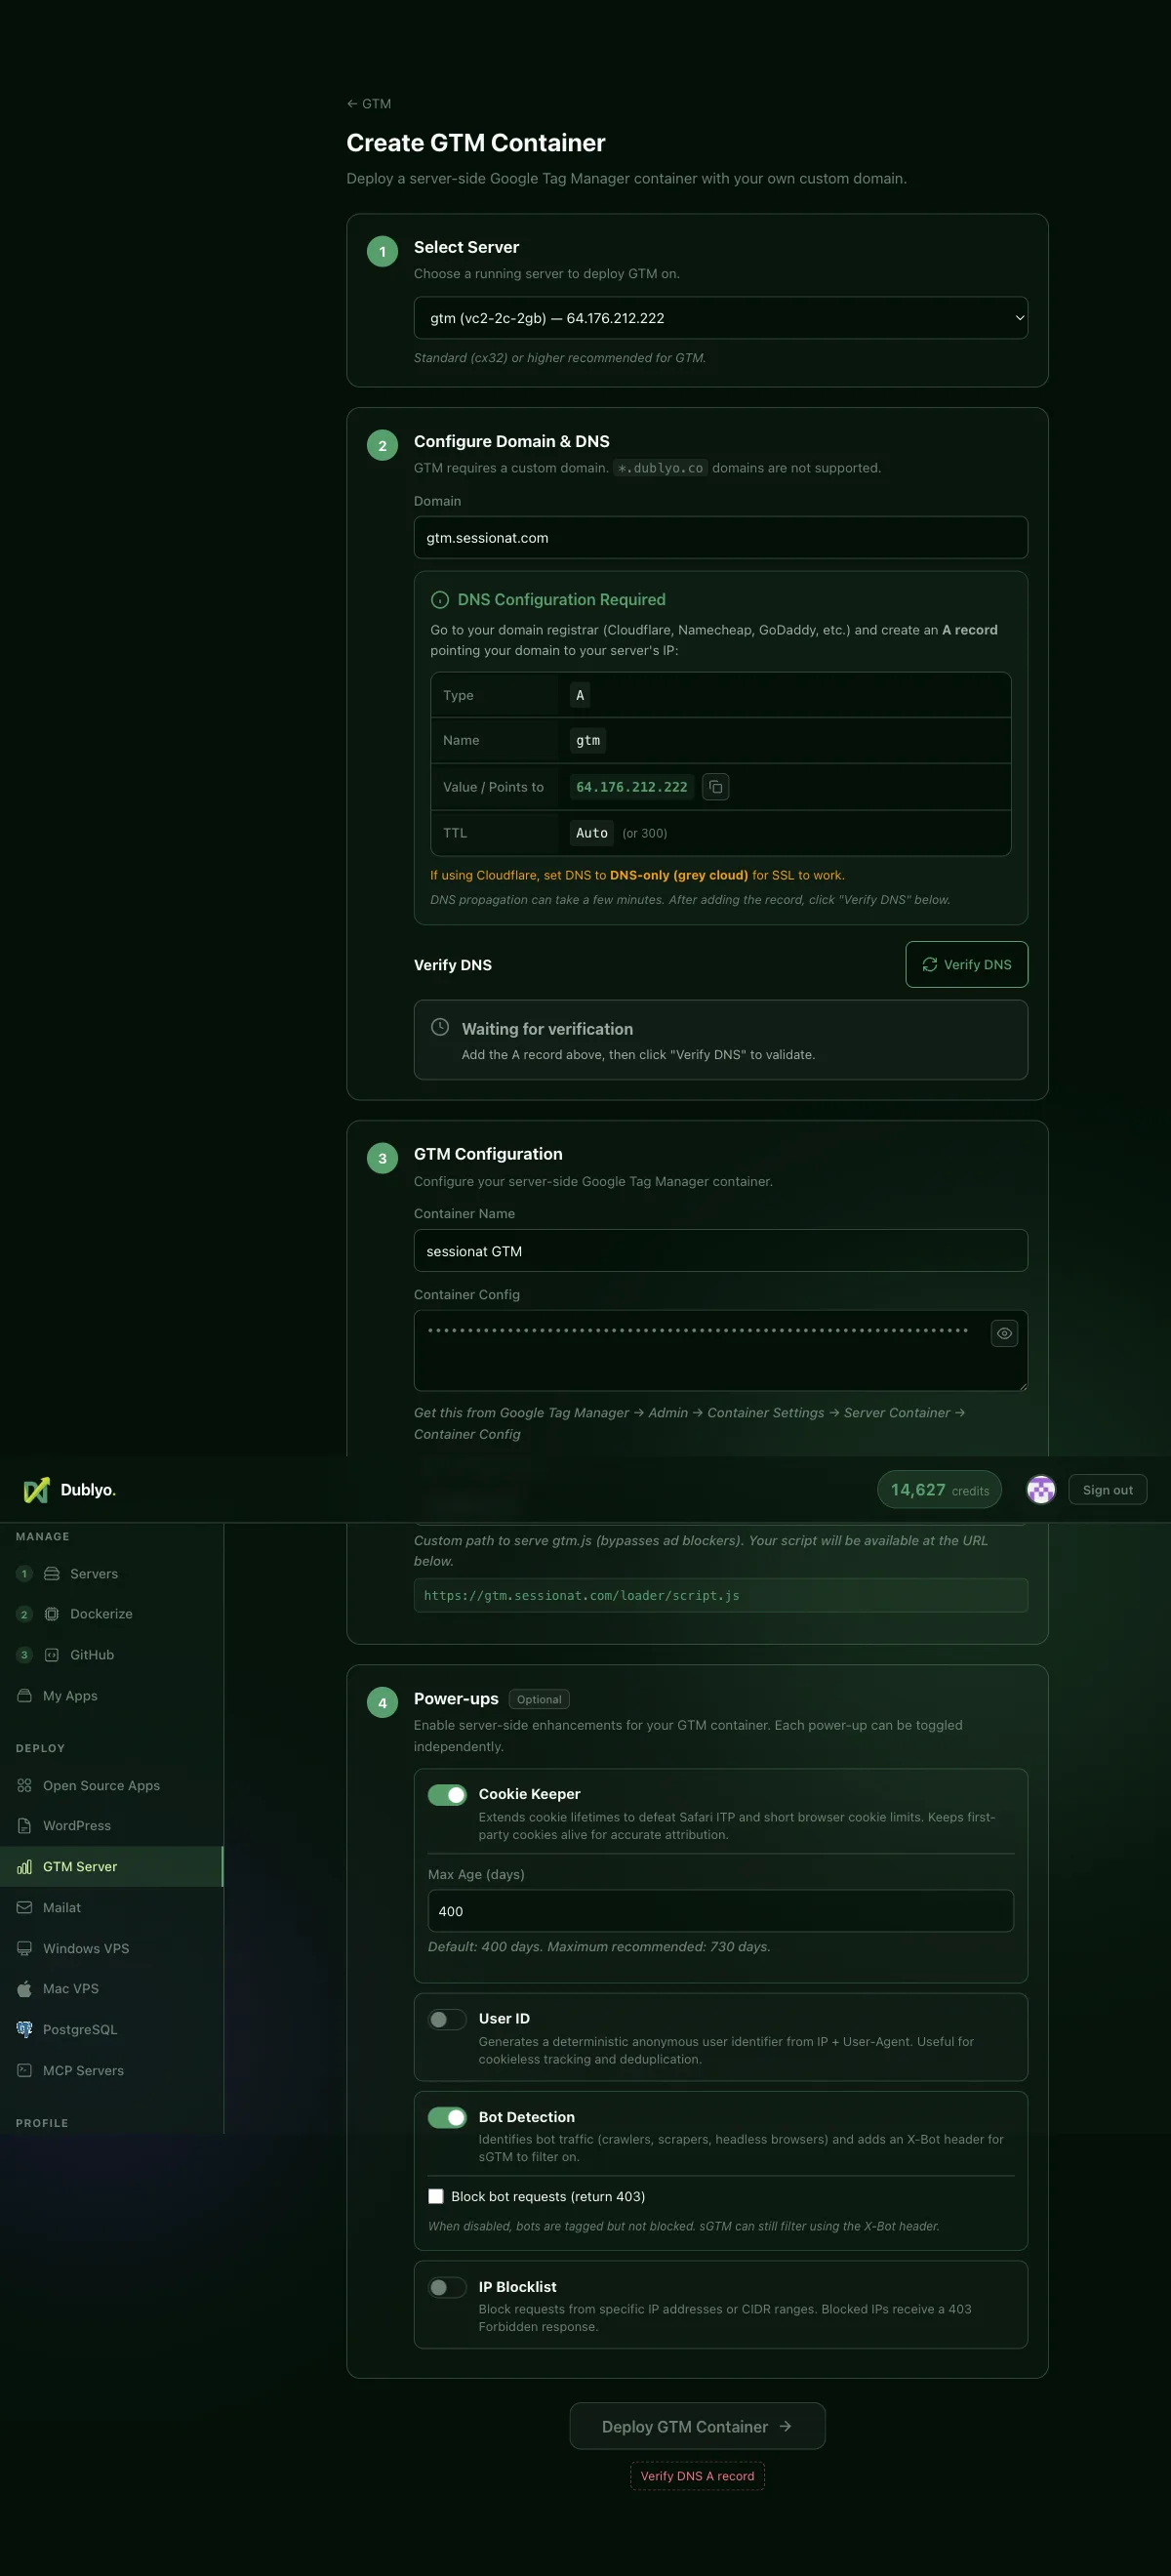
Step 4 — Point your DNS and verify
As soon as you type the domain, Dublyo shows the exact DNS record to create at your registrar:
| Type | Name | Value | TTL |
|---|---|---|---|
A | gtm | your server's IP (shown in the form) | Auto |
Add the record, give it a minute to propagate, then clickVerify DNS:
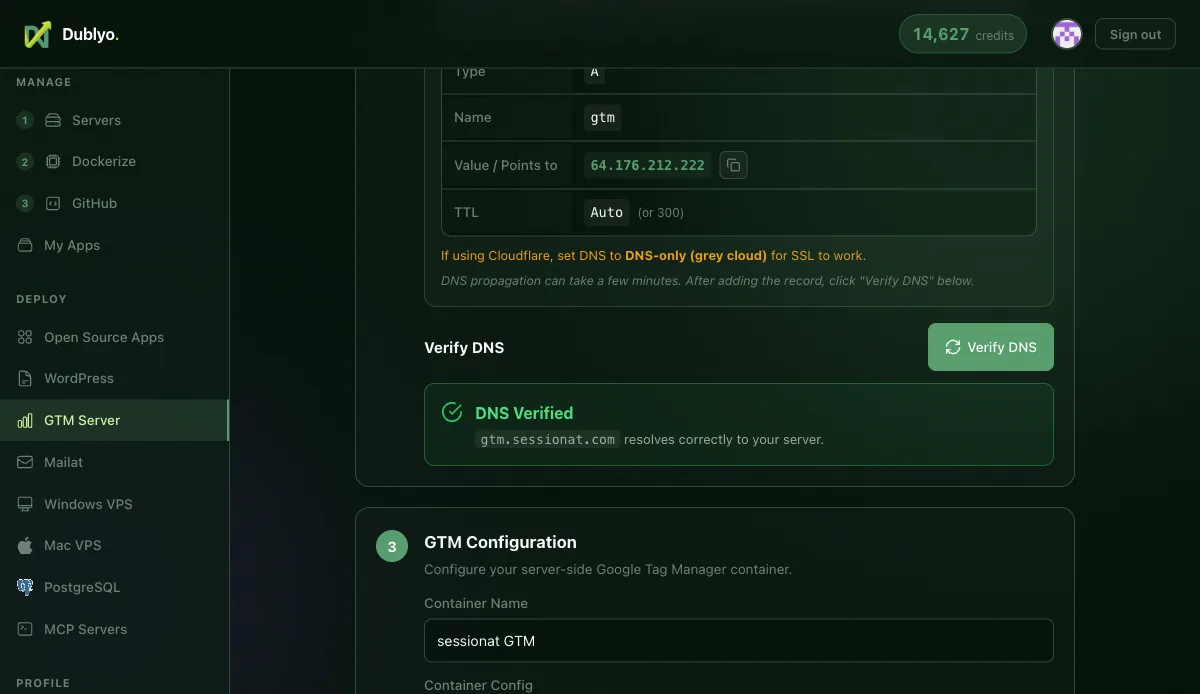
Step 5 — Deploy
Click Deploy GTM Container. Dublyo takes it from here — in under a minute it:
preview-gtm-….dublyo.co) — no DNS work needed on your side/loader/script.js serves gtm.js from your domainThe container page shows everything at a glance once it's running:
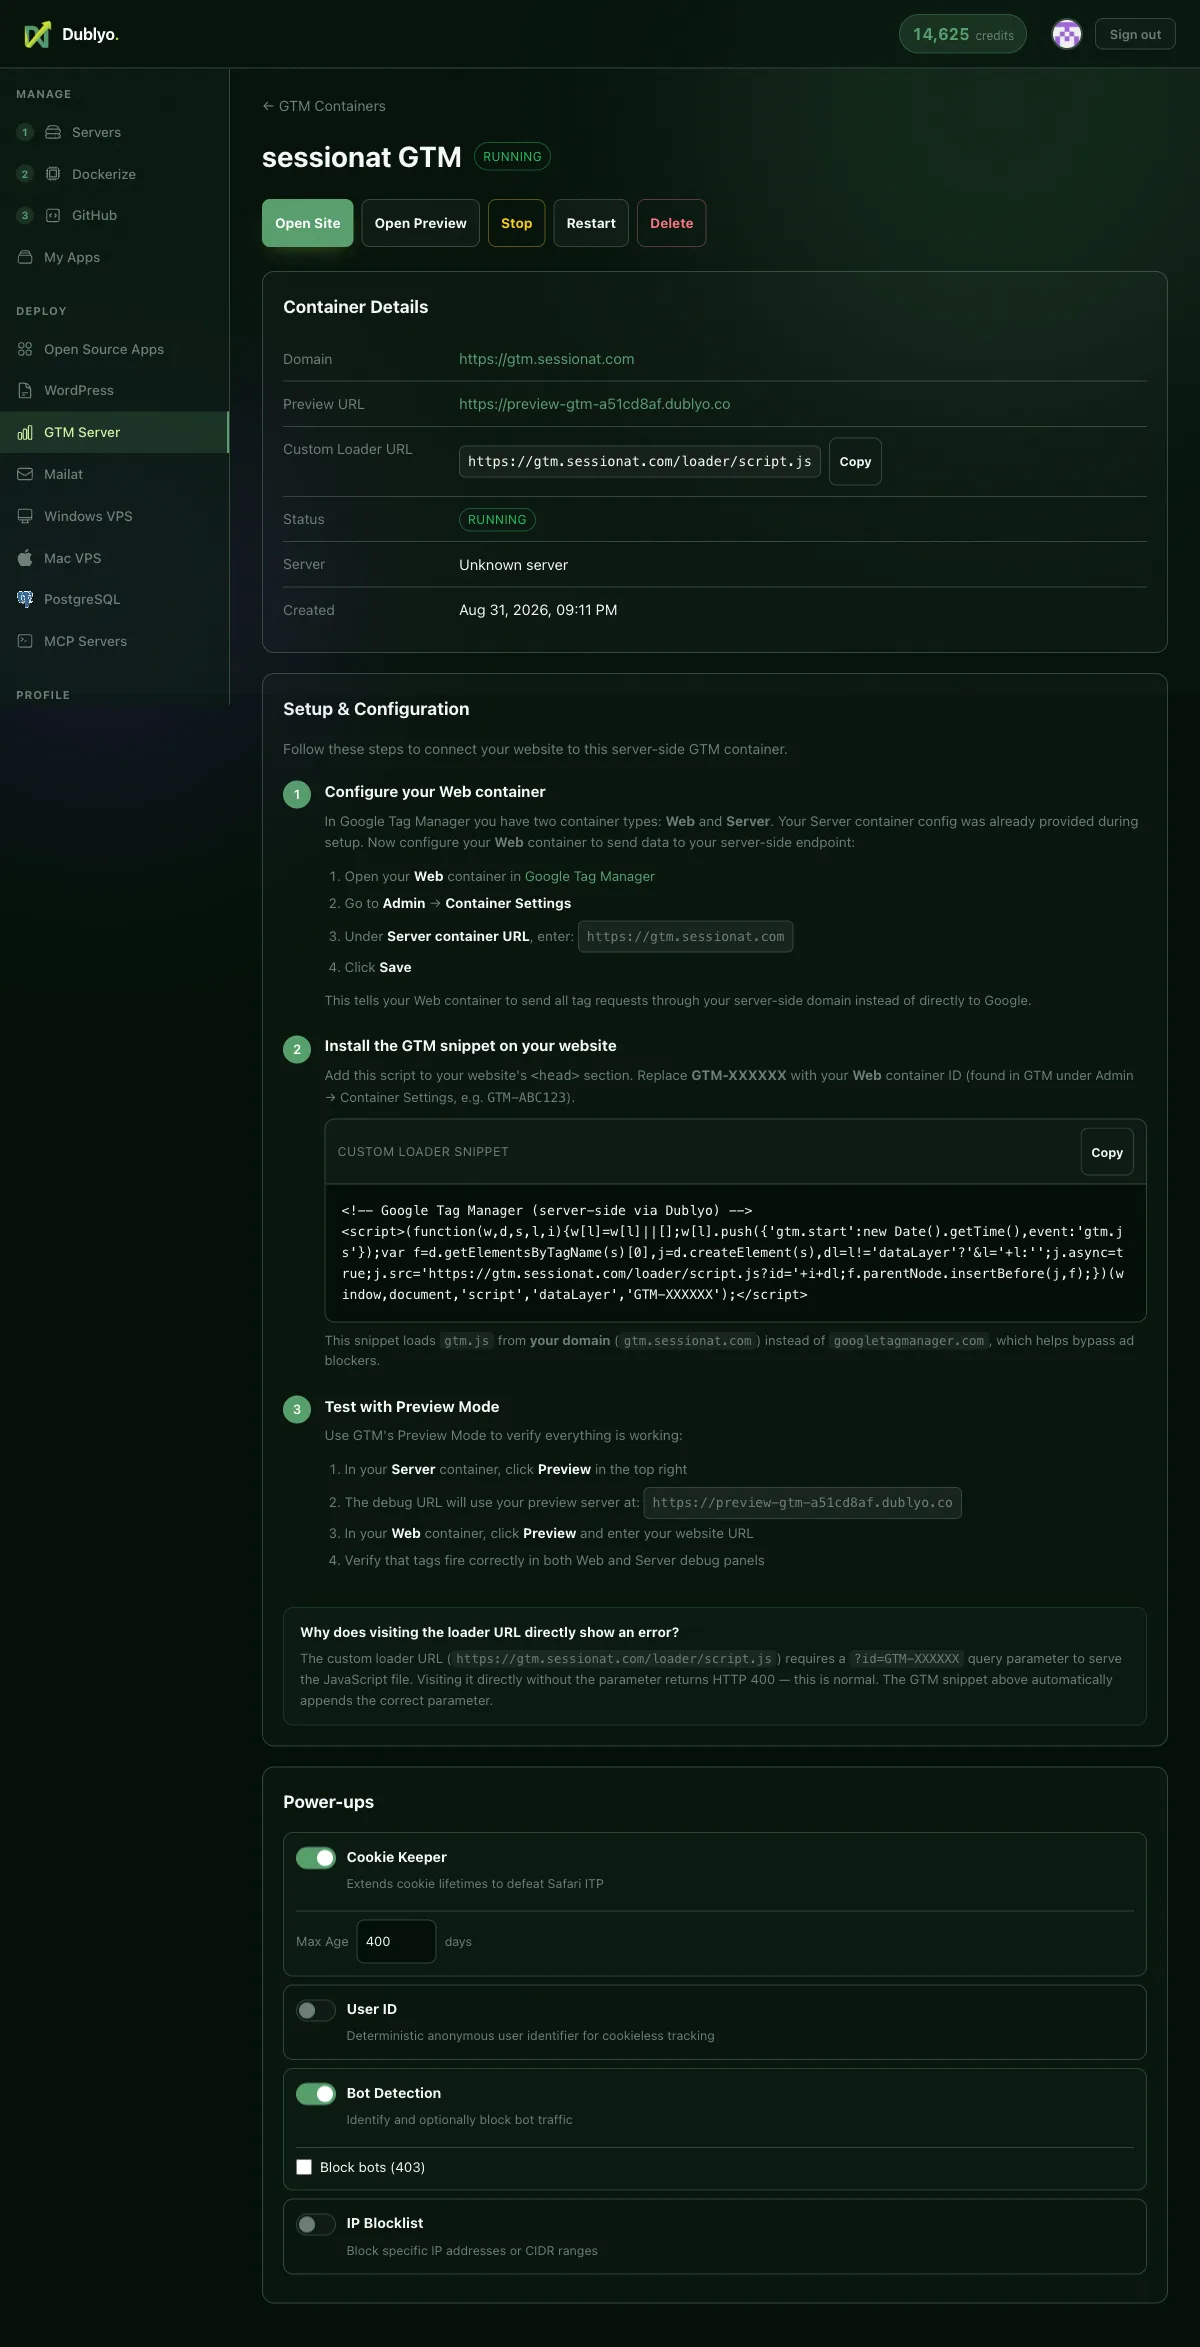
Quick sanity check — your tagging server answers on its health endpoint:
curl https://gtm.yourdomain.com/healthz # → ok (HTTP 200)Step 6 — Publish the container and connect your website
Back in Google Tag Manager, press Submit → Publish on the new server container so it has a live version. Then connect your existingWeb container to the tagging server: in your GA4 configuration tag, set server_container_url (transport URL) tohttps://gtm.yourdomain.com, and load the GTM snippet from your Custom Loader URL instead of googletagmanager.com.
The container page's Setup & Configuration section (previous screenshot) lists these steps with copy-paste snippets for your exact domain, and the full GTM Server-Side guide covers web-container wiring, the preview workflow and every power-up in depth.
Your container now appears on the GTM dashboard, fully manageable — stop, restart or delete it any time:
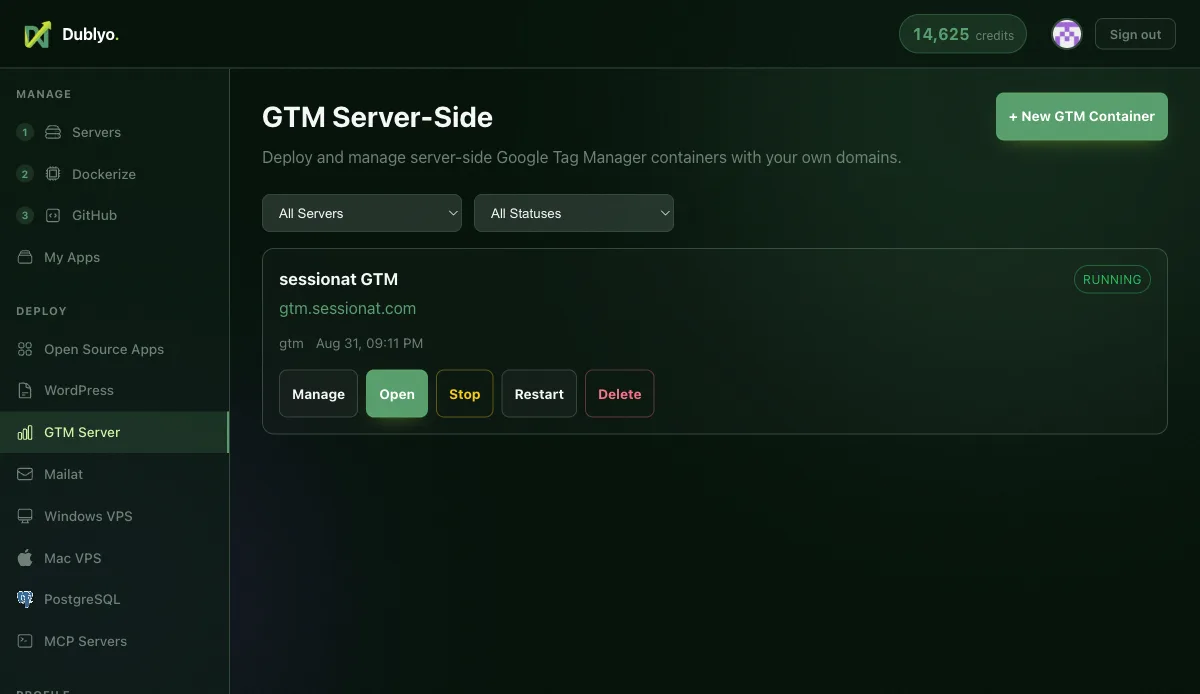
Step 7 — Verify with real events
The strongest proof is a real event stream. Open Preview on your server container in GTM (Tag Assistant), copy thex-gtm-server-preview header value it gives you, and replay a full e-commerce funnel against your own tagging server from the command line:
PREVIEW='paste-your-x-gtm-server-preview-value'
for EN in page_view view_item add_to_cart begin_checkout add_payment_info purchase; do
  curl -s -o /dev/null -w "$EN → %{http_code}\n" \
    -H "x-gtm-server-preview: $PREVIEW" \
    "https://gtm.yourdomain.com/g/collect?v=2&tid=G-1234&cid=555.777&en=$EN&cu=USD&epn.value=139.97&ep.transaction_id=T-10001&pr1=idSKU_1~nmHoodie~pr59.99~qt2"
done
Every request should return 200 — and each event appears live in Tag Assistant with its full payload parsed: the GA4 client claiming the request, currency, transaction ID, coupon and the completeitems array. This is the exact funnel above, received by the tagging server from this tutorial:
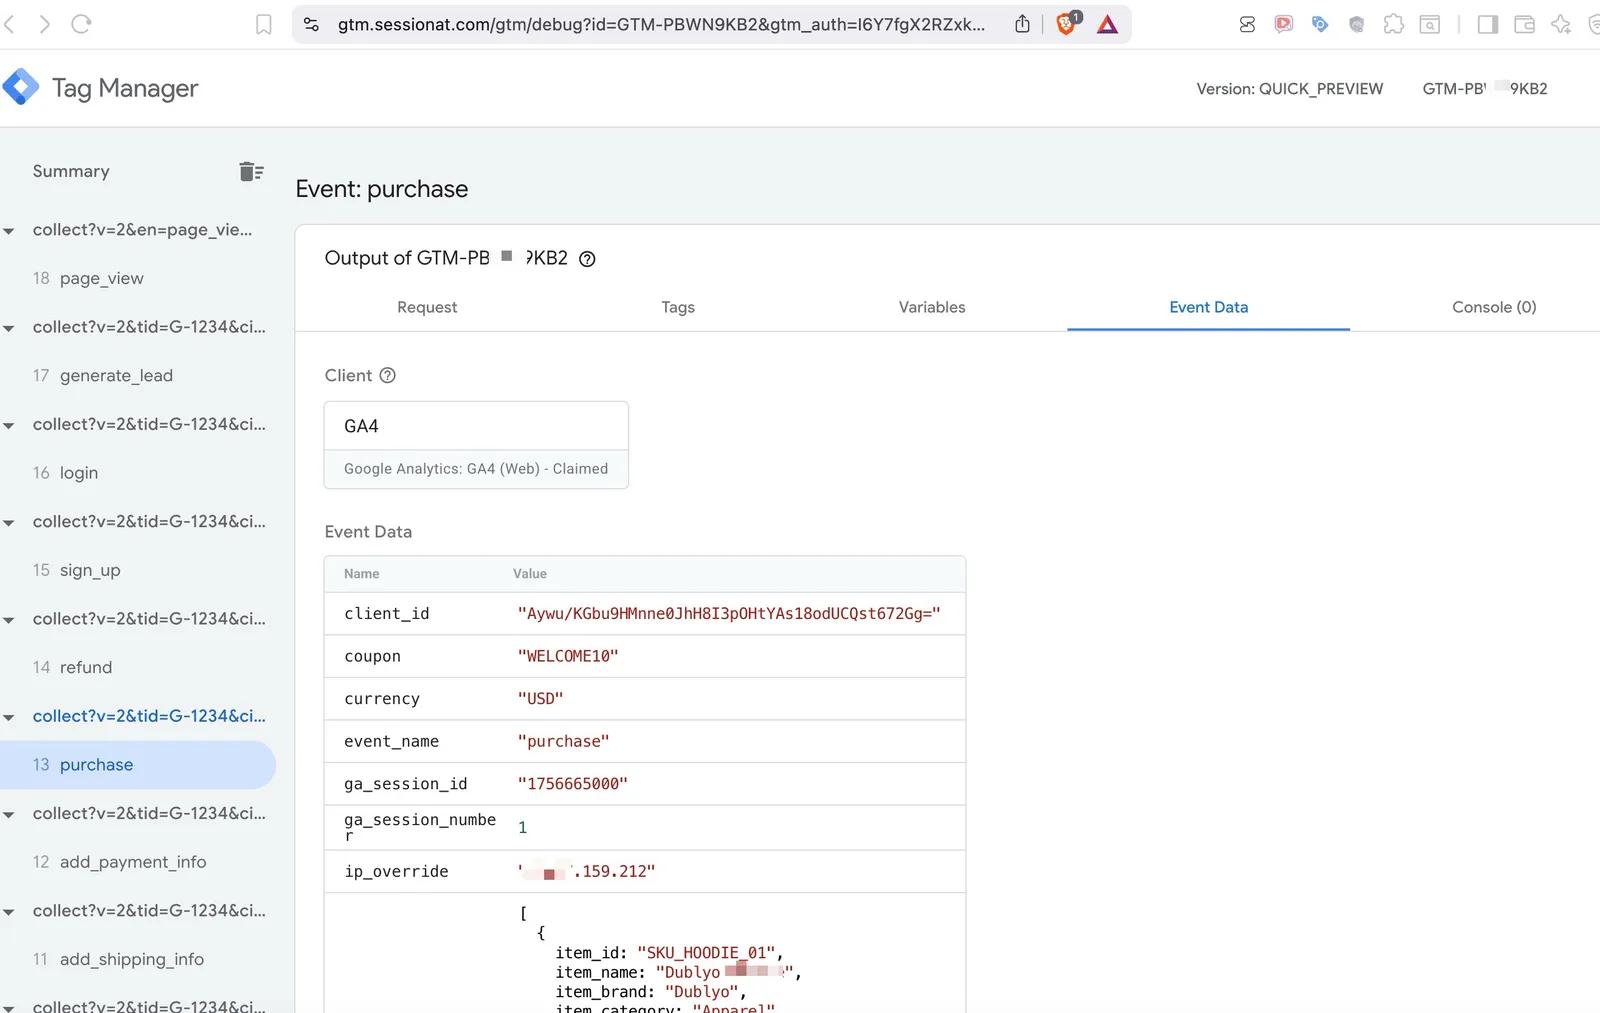
Note the response cookie on collect requests: FPID is set server-side (HttpOnly, Secure) — and with the Cookie Keeper power-up enabled its lifetime is the 400 days you configured, not the 7 days Safari ITP would allow a script-set cookie.
Troubleshooting
| Symptom | Cause & fix |
|---|---|
| Loader URL shows an error in the browser | Expected. /loader/script.js needs the ?id=GTM-XXXXXX parameter, which the snippet appends automatically. A bare visit returns HTTP 400. |
| Verify DNS keeps failing | The record must be a direct A record to the server IP — on Cloudflare that means grey cloud. Propagation can take a few minutes. |
| Requests return 400 from the server | The server container has no published version yet, or the request doesn't match any client. Press Submit → Publish in GTM. |
| Certificate warning right after deploy | Let's Encrypt issuance takes up to a minute after the first request. Reload shortly after. |